Clone root disk
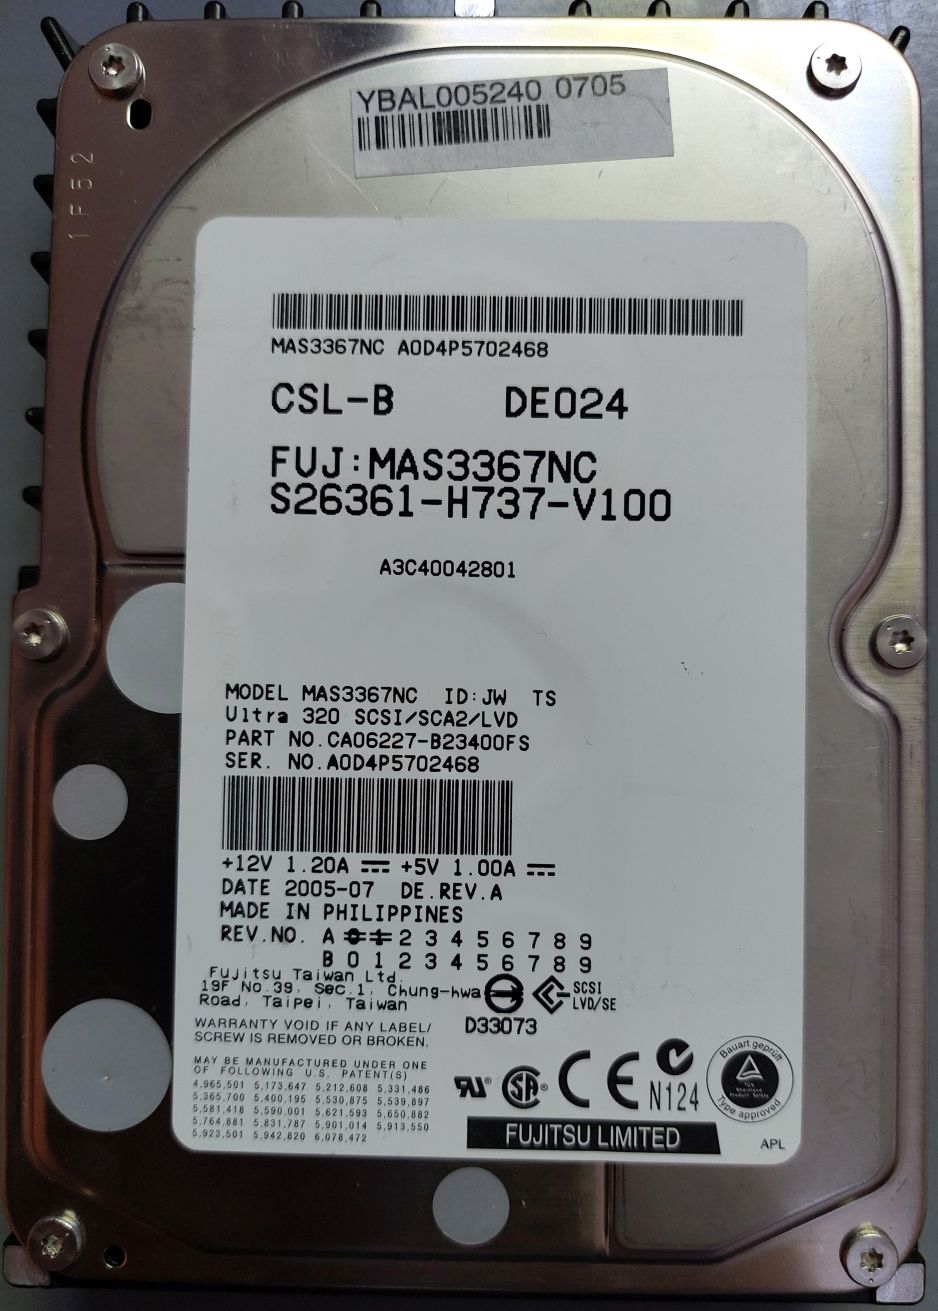
As two of my O2 machines only have a 4 GB disk drive, I decided to replace these disks with larger ones. On E-Bay I found 36 GB Fujitsu disks for 20 Euros each. They came in good shape and are newer (build date: 2005) than the original ones (build date: 1998).
As I did not want to install and configure IRIX from scratch again, I looked for a way to clone the root disk onto the new disk.
A good description of the cloning process can be found on Ian's SGI Depot.
The following is the procedure I used on my O2.
It must be performed as user root.
- The root disk (source) is on controller 0 using SCSI ID 1.
- The new disk (target) is on controller 0 using SCSI ID 2.
Unmount all external devices and NFS drives.
Edit /etc/fstab and comment all mount points
except the root drive.
Create a mount point:
> mkdir /0
Partition the new disk as rootdrive and choose XFS as file system type for the target disk:
> fx -x         # Run fx
  Enter         # Select dksc
  Enter         # Select controller 0
  2             # Select drive 2
  Enter         # Select lun 0
  r             # Select repartition option
  ro            # Select root drive option
  Enter         # Select XFS
  yes           # Yes, continue with the operation
  ..            # Return to the main menu
  l             # Create a new label
  sy            # Write out the new label
  /exit         # Exit fx
Create a XFS file system on the target disk:
> mkfs_xfs /dev/dsk/dks0d2s0
Mount the new file system on mount point /0:
> mount /dev/dsk/dks0d2s0 /0
Now copy the data of the source disk to the target disk:
> cd /0
> xfsdump -l 0 -p 5 - / | xfsrestore - .
Finally the volume header information from the source disk must be copied to the target disk:
> cd /stand
> dvhtool /dev/rdsk/dks0d1vh   # Access the source disk volume header.
  vd                           # Switch to a different menu.
  l                            # List contents of volume header.
  g sash sash                  # Copy volume header entries to disk.
  g ide ide
  quit                         # Exit from this session.
  quit
> dvhtool /dev/rdsk/dks0d2vh   # Access the target disk volume header.
  vd
  l
  d sash                       # Delete old entries (if any are shown
  d ide                        # to be present by the l command),
  a sash sash                  # Copy new entries to target volume header.
  a ide ide
  quit
  write                        # Write out the changes.
  quit
Now power off the machine and replace the source root disk with the new target disk.
After starting the machine with the new root disk, do not forget to get file
/etc/fstab into its original state and mount all file systems.