Documentation
| Manual and presentations |
|---|
See the old poApps site for a (not up-to-date) description of the different applications.

| FTI Editor |
|---|
Introduction
 |
 |
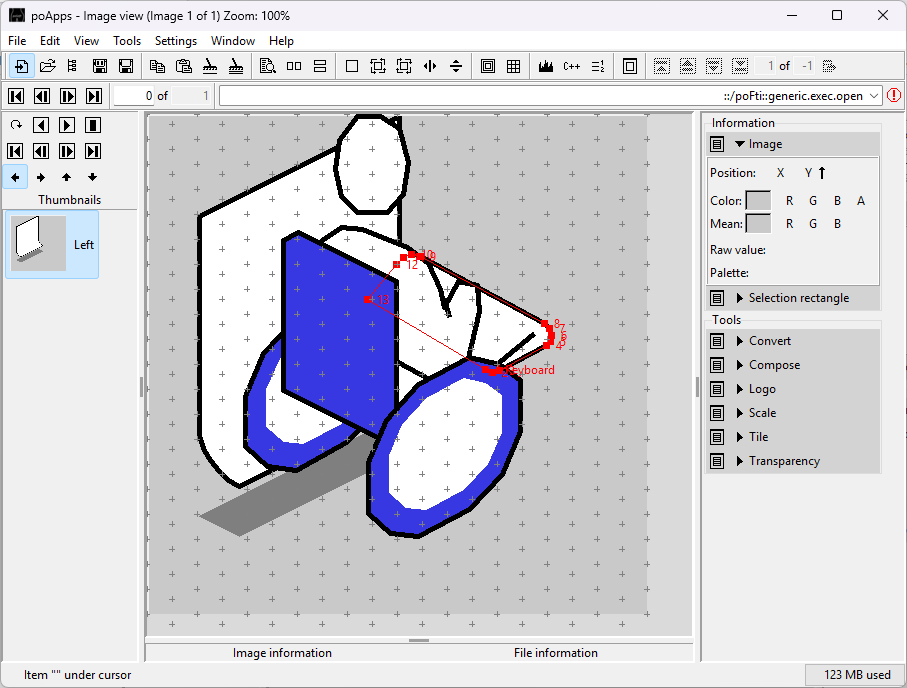
An FTI icon consists of one or more items.
An item can be of type point, line, closedline, polygon or outlinepolygon.
Additionally an item can have a name (must not be unique across the icon), as well as a fill or line color and in the case of an outline polygon an outline color.
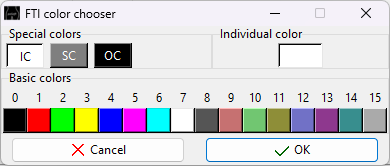
Colors can be specified as one of three special color names:
- IC: Icon color
- SC: Shadow color
- OC: Outline color
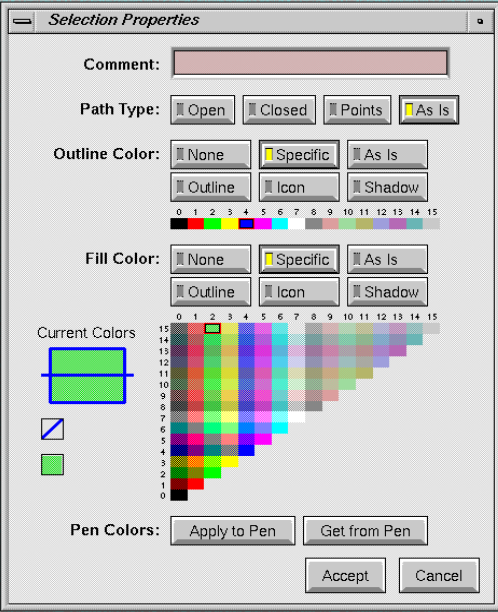
There is also the ability to choose from 16 basic colors or to choose an arbitrary individual color. This individual color is converted to best fit the available color from the color palette as defined in the IconSmith application.
The following image shows the original IconSmith color palette.
For an introduction on using File Type Icons for the IRIX Interactive Desktop, see the official SGI documentation.
Usage
Start poApps and select the Image view application in the main window.
The default maximum size of FTI icons is 100 pixel. It is recommended to set the maximum size of the FTI icons to ex. 500 pixel for better display and handling. Select menu Settings->Image settings->Image types, select image type FTI, enable the -width and -height check buttons and specify the wished pixel size.
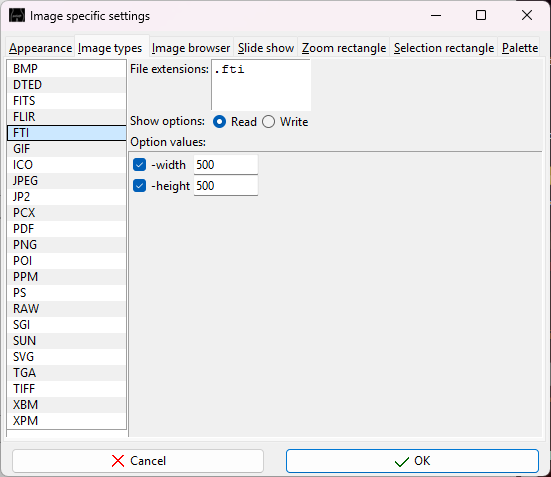
In the Image view application, select menu Tools and choose FTI Editor ....
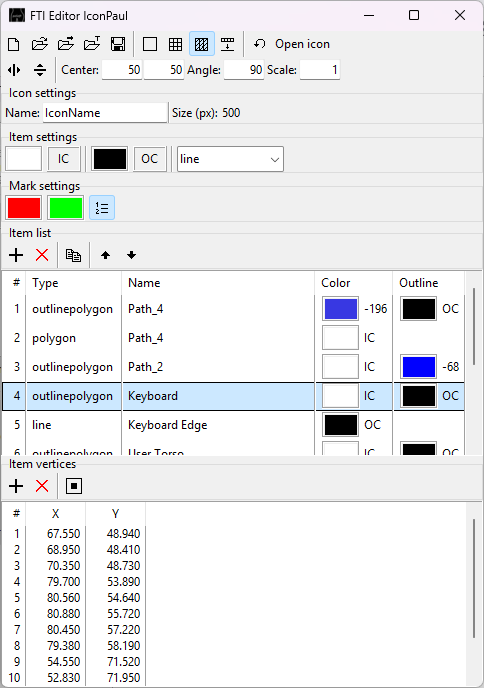
The FTI Editor window consists of two toolbars at the top with functions acting on complete icons:
- Read an icon from file or choose one of the generic template icons.
- Save an icon to file.
- Draw a grid in square or isometric mode.
- Undo last action.
- Flip, rotate or scale an icon.
The generic template icons can be displayed in the Image view main window as icon or as background image.
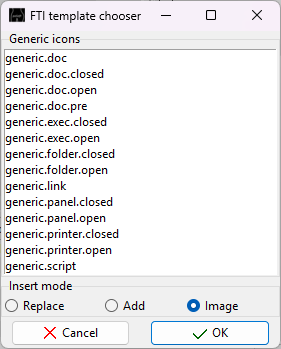
In the Icon settings frame, the name of the icon can be choosen. If reading an icon from file, this is the file name without the extension.
In the Item settings frame, default values for newly created items can be choosen: The item fill or line color, the item outline color as well as the item type.
In the Mark settings frame, the colors for marking an item or vertex can be selected. The checkbutton can be used to toggle the display of vertex numbers.
In the Item list table, items can be added, deleted or copied. The drawing order of the items can be changed by the up and down arrows.
In the Item vertices table, vertices can be added or deleted. Additionally the selected vertex can be set as the center of transformation.
Shortcuts in Image view window
Key shortcuts
- Arrow key: Move item by 1 unit.
- Shift+Arrow key: Move item by 5 units.
- Control+Arrow key: Move item by icon size.
Mouse shortcuts
- Control+ButtonRelease-1: Add new vertex at mouse position after selected vertex. If no vertex is selected, add vertex at end.
- ButtonPress-1: Select item or vertex.
- Button1-Motion: Move selected item or vertex.
| Screenshots |
|---|
- poOffice: Word document information
- poOffice: Word document abbreviation check
- poOffice: Word document link check
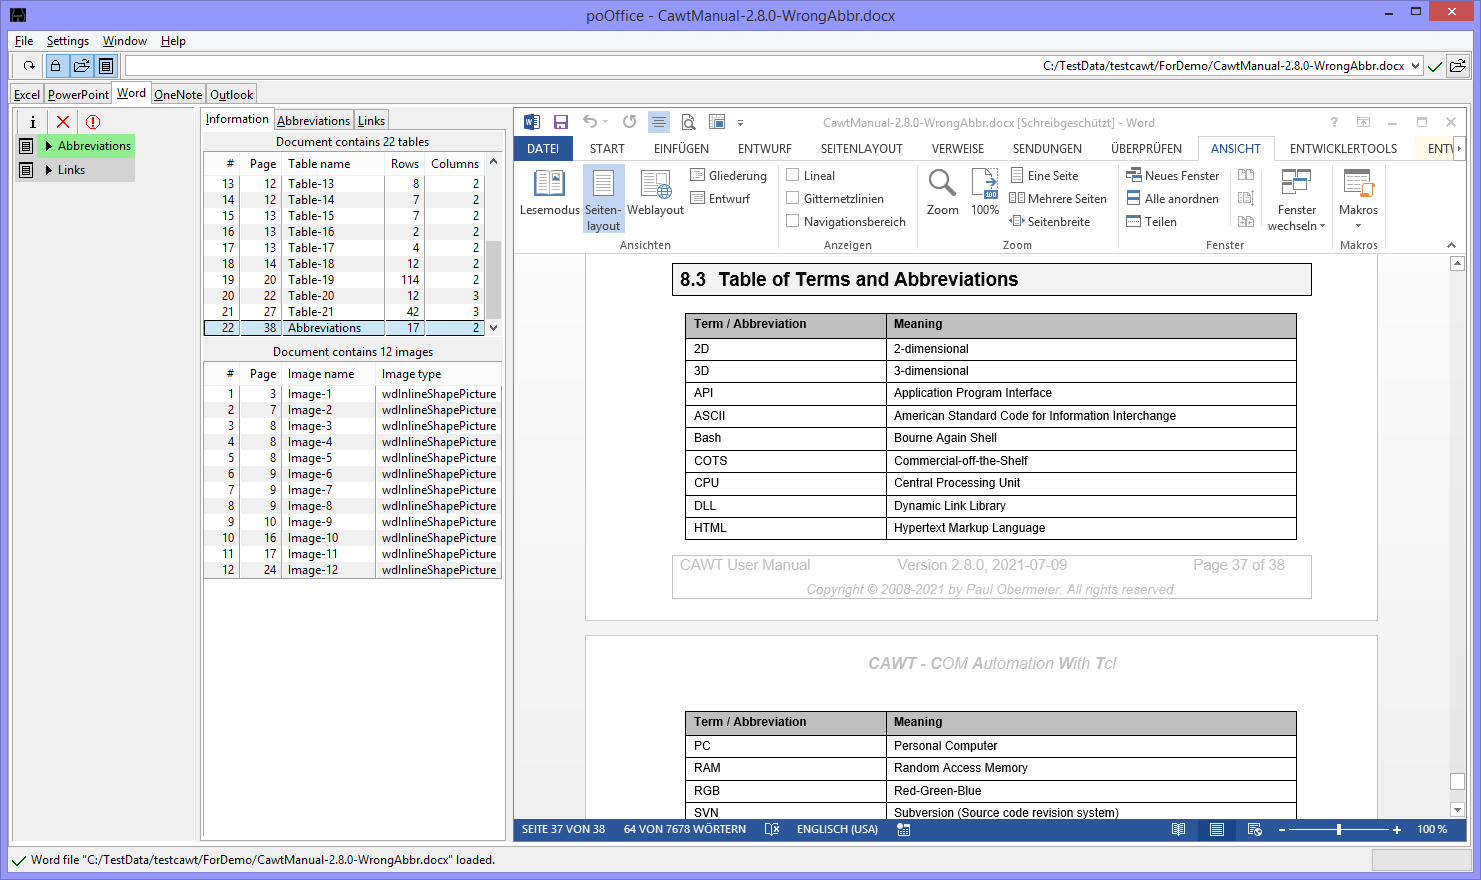
Get a list of tables and images of a Word document. By clicking on an entry the corresponding table or image is selected in the Word application.
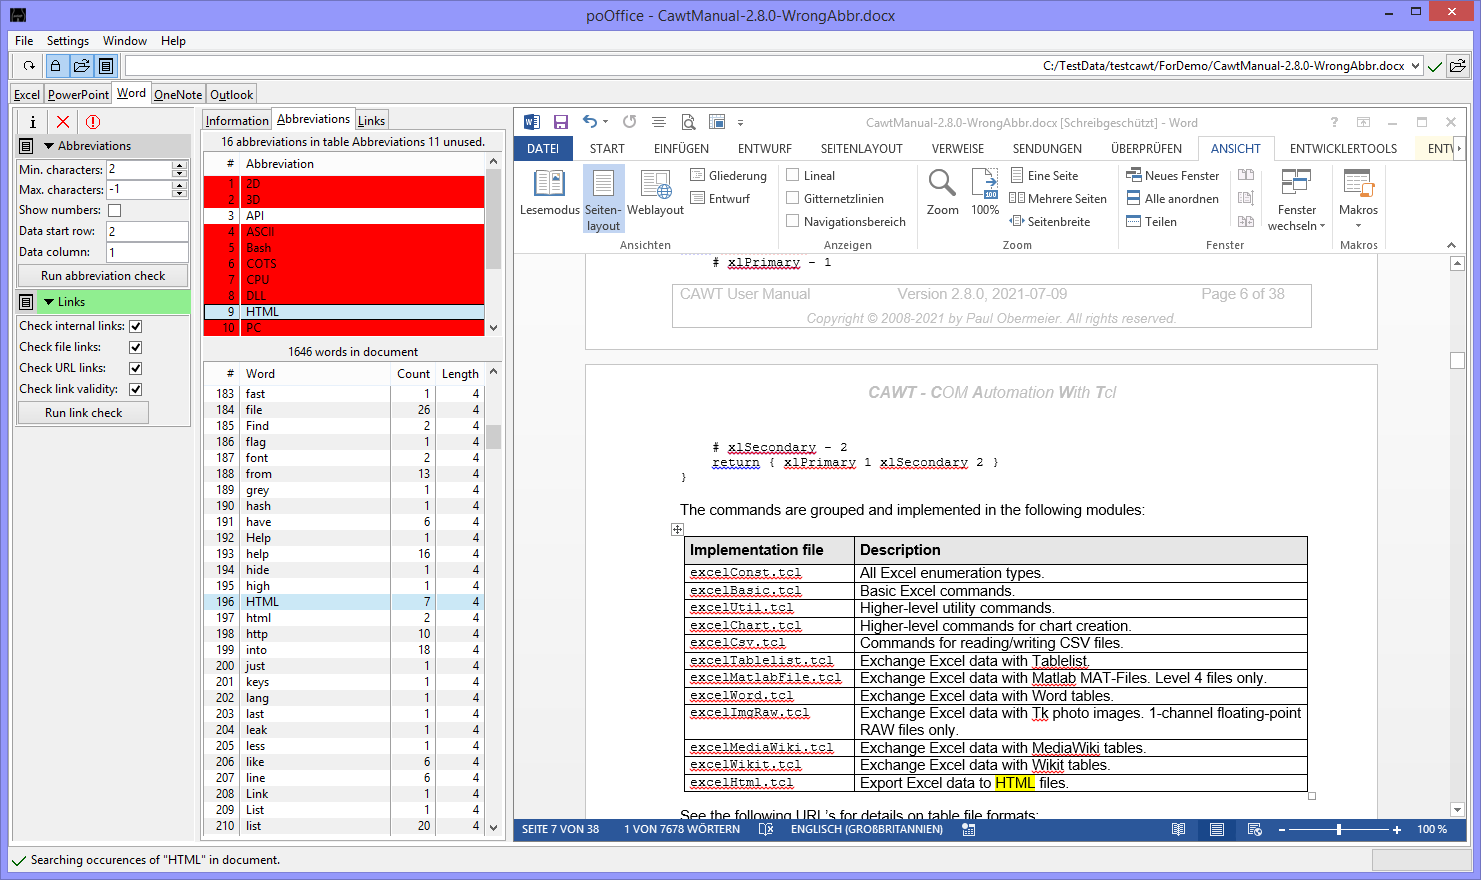
Get a list of abbreviations contained in a Word table and check, if the abbreviations are used in the document.
By clicking on an entry the corresponding abbreviation is selected in the Word application. Pressing F3 finds the next occurence.
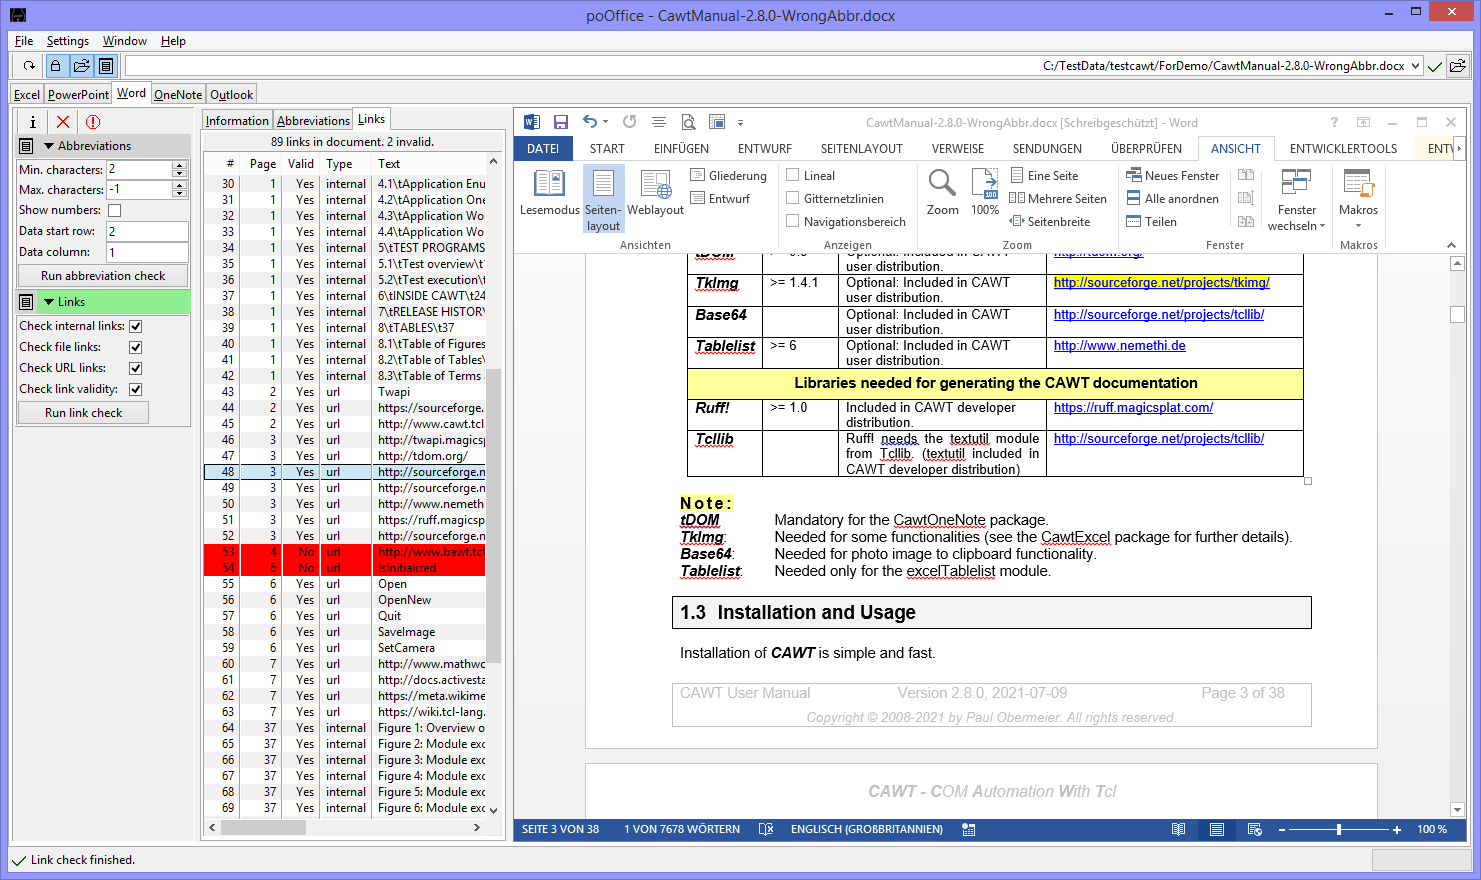
Get a list of links of a Word document with optional validity checking. By clicking on an entry the corresponding link is selected in the Word application.